


Table of Contents
- What You'll Need Before Starting
- Preparing Your Design File for Professional Results
- Best Fonts for Jewelry Engraving
- Laser vs Hand Engraving Quality: Which Delivers Professional Results
- Setting Depth, Power, and Alignment for Professional Jewelry Engraving
- Common Jewelry Engraving Mistakes and How to Avoid Them
- Finishing and Maintaining Engraved Jewelry for Lasting Quality
- Frequently Asked Questions
Last Updated: August 31, 2026
What You'll Need Before Starting
Professional jewelry engraving requires proper tools and materials to ensure quality results. Start with well-maintained equipment: laser systems need regular lens and mirror cleaning, while hand-engraving requires sharp burrs and gravers in various sizes. Dull tools produce rough, unprofessional lines.
You'll need design software capable of creating vector files. Adobe Illustrator, CorelDRAW, or free alternatives like Inkscape prepare artwork in SVG or DXF formats that engraving machines read accurately. Raster images won't work; you need scalable vector graphics.
Surface preparation tools matter significantly. A jewelry cleaning cloth removes oils and debris before engraving. Fine-grit sandpaper or a polishing cloth prepares metal surfaces for clean contact. Oxidation must be removed first to ensure consistent engraving depth.
Finally, invest in finishing supplies: jewelry cleaning cloths, polishing compounds appropriate to your metal type, and burnishing tools. These transform functional engraving into professional-looking finished products.
Preparing Your Design File for Professional Results
The quality of your design file directly determines your finished engraving quality. Convert all text and graphics to outlines or paths before sending to your machine. Most machines cannot read live text; they need vector paths.
Simplify your artwork. Lines thinner than your engraving bit won't cut properly, and details smaller than 1/16 inch may disappear entirely (the FDA). Test complex designs on scrap metal first.
Check file format compatibility. SVG and DXF files work with most laser engraving machines. Export in your machine manufacturer's recommended format and verify all elements remain intact after export.
Set appropriate dimensions and scale. Your design should match the exact size of the jewelry piece. Scaling during engraving introduces inconsistency. Remove unnecessary layers and clean up the file before export, deleting hidden elements and guides that could confuse engraving software.
Best Fonts for Jewelry Engraving
Font selection determines whether your engraving reads clearly or looks muddled. Serif fonts with thin lines are problematic; delicate serifs may not cut deeply enough. Sans-serif fonts with consistent stroke weight perform best, Helvetica, Arial, and Futura maintain readable letterforms even at small sizes.
Script and decorative fonts require caution. Flowing script can be beautiful, but thin connecting strokes often fail to engrave cleanly. Test decorative fonts on scrap material first.
Consider the metal you're engraving. Softer metals like gold and silver accept finer detail than harder metals. Test your chosen font on the actual metal before committing to a customer piece.
Limit your design to one or two fonts maximum. Multiple typefaces create visual chaos on small jewelry pieces.
Laser vs Hand Engraving Quality: Which Delivers Professional Results
Both laser and hand engraving can produce professional results with distinctly different aesthetics. Laser engraving produces consistent, precise lines with minimal variation and uniform depth. For detailed work, logos, or geometric patterns, laser engraving delivers superior precision and repeatability. However, it can create a slightly charred appearance on some metals, requiring post-engraving finishing.
Hand engraving creates a handcrafted aesthetic many customers prefer. Fine details and custom modifications are easier with hand tools, and the finished piece has more character. However, hand engraving requires significant skill development; inconsistent pressure produces uneven depth.
For small text and precise lettering, laser engraving typically wins. For large, bold designs or custom artistic work, hand engraving often delivers superior results. Consider your customer base and choose the method matching your skill level.
Setting Depth, Power, and Alignment for Professional Jewelry Engraving
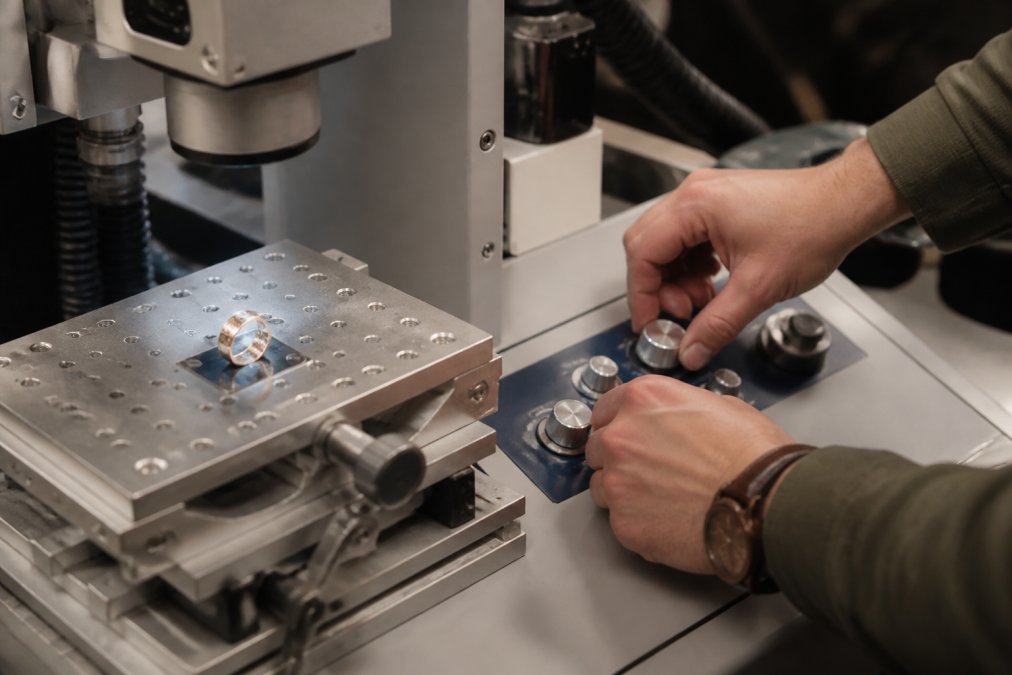
For laser engraving, power and speed settings determine depth of cut. Higher power and slower speed create deeper marks; lower power and faster speed produce lighter engravings. Metal hardness affects these settings significantly. Gold and silver require lower power than stainless steel or titanium (peer-reviewed research). Start with manufacturer recommendations, then test on scrap metal matching your actual material.
Focal length is critical for laser systems. The distance between the laser lens and the jewelry surface must be precise. Use a focus tool or test cuts to dial in the exact distance before engraving your final piece.
Alignment requires a preview mode or dry run. Check that text is centered, positioned correctly, and oriented properly before engraving. A preview catches mistakes before they're permanent.
For hand engraving, depth control comes from consistent pressure and technique. Secure your jewelry piece properly using a jeweler's vise with soft jaws or temporary adhesive. Movement during engraving ruins the work.
Test on scrap material first. This single step separates professionals from amateurs.
Common Jewelry Engraving Mistakes and How to Avoid Them
Skipping surface preparation is the most common mistake. Oils, dirt, and oxidation create inconsistent engraving depth. Always clean the piece thoroughly before engraving, using fine-grit sandpaper or a polishing cloth to remove tarnish.
Using raster images instead of vector files causes pixelated, low-quality results. Always work with vector files (SVG, DXF, AI).
Choosing fonts with thin strokes produces fragile engravings that wear quickly. Select fonts with consistent, medium-weight strokes and test unfamiliar fonts on scrap material first.
Misaligning text creates the instant impression of poor work. Use your machine's alignment and preview tools religiously.
Setting incorrect depth creates multiple problems. Too shallow, and the engraving fades with handling (nist.gov). Too deep, and you risk weakening the jewelry structure. Test your depth settings on scrap material matching your actual piece and document settings for future reference.
Rushing the finishing process leaves the engraving looking incomplete. Invest time in polishing, burnishing, and cleaning to transform functional engraving into a premium-looking final product.
Ignoring metal hardness when selecting tools or settings causes poor results. Research the specific metal you're working with and adjust your approach accordingly.
Finishing and Maintaining Engraved Jewelry for Lasting Quality
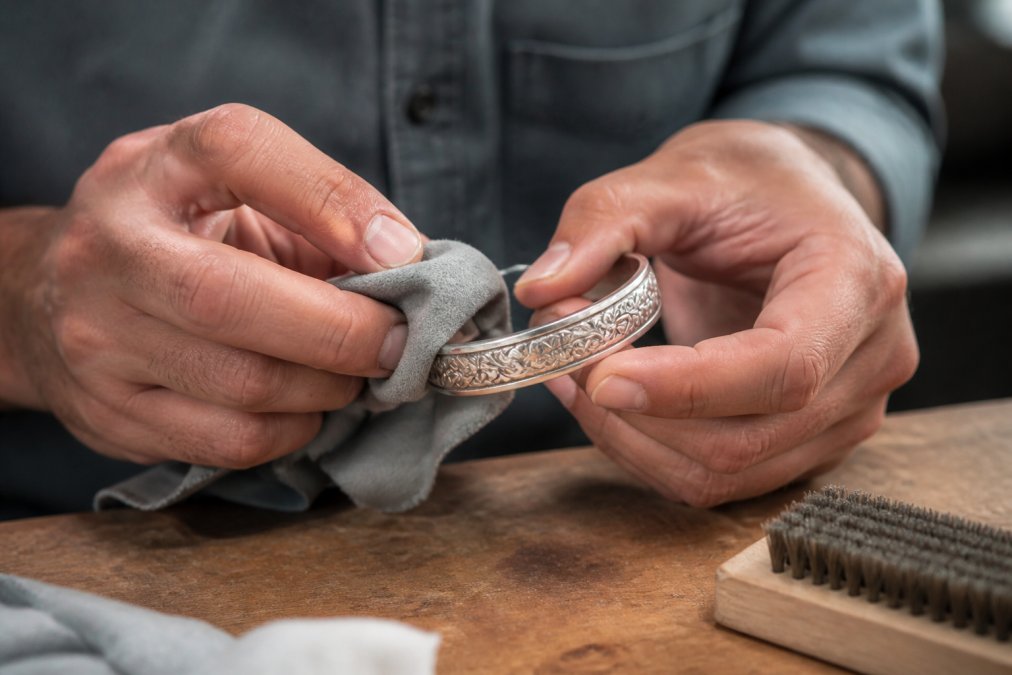
Immediately after engraving, clean the piece thoroughly. Remove any debris, charring, or residue. For laser engravings, use a soft brush and mild soap. For hand-engraved pieces, use a jewelry cleaning cloth to remove metal shavings or burrs.
Polishing refines the appearance. Use a polishing compound appropriate to your metal type. Gentle circular motions bring out the luster and make the engraving stand out.
Burnishing the engraved edges adds a professional touch. A burnishing tool gently compresses the metal around the engraved lines, creating smooth, refined edges that catch light beautifully.
For long-term maintenance, advise customers to store the piece in a cool, dry place away from direct sunlight. Humidity causes tarnish that settles into engraved grooves.
Regular cleaning maintains the engraving's appearance. Customers should clean engraved jewelry periodically with a soft cloth and mild soap. Harsh chemicals or abrasive cleaners can damage the metal and blur the engraving.
For silver and brass jewelry, applying a thin protective coating helps prevent tarnish from settling into engraved areas. Clear lacquer or specialized jewelry sealants work well.
Professional jewelry engraving requires precision, preparation, and attention to finishing details. At Lynrix.com, we understand that personalized gifts carry emotional weight, your engraving must reflect that care through quality execution. The techniques covered here transform a functional engraving into a piece that looks handcrafted and premium, worthy of the milestone it commemorates. When your customer opens their personalized gift, the professional appearance of the engraving reinforces the thoughtfulness behind it. Shop Lynrix.com's collection of engraved jewelry and discover how quality personalization strengthens the bonds you're celebrating.
Frequently Asked Questions
What are the most common mistakes to avoid when engraving jewelry?
The biggest mistakes are poor design preparation, incorrect depth settings, and inadequate surface cleaning. Many people skip the vector file step and use raster images, which produce blurry results. Others set the engraving depth too shallow, creating faint marks that fade with wear, or too deep, which weakens the piece. Always clean the jewelry thoroughly before engraving to remove oils and oxidation that prevent crisp, permanent marking.
How do you choose the best fonts for jewelry engraving?
Select fonts with clean, open letterforms and consistent stroke width, sans-serif options like Helvetica, Futura, or Gill Sans work best on small jewelry pieces. Avoid thin, decorative, or script fonts that lose legibility when engraved small. Test your font choice at the actual size you'll engrave; what reads well on screen may become unreadable at 0.25 inches. Sans-serif fonts maintain clarity even when precision is tight, ensuring your custom message remains readable for years.
What is the difference between laser and hand engraving for professional results?
Laser engraving delivers precision, consistency, and speed, ideal for detailed designs, multiple identical pieces, and intricate patterns. Hand engraving offers artistic control and works on any metal, but requires skilled craftsmanship and produces less uniform results. Laser excels at micro-engraving and fine typography; hand engraving suits thick metals and artistic customization. For professional, repeatable results on custom jewelry, laser engraving typically produces sharper, more legible text and finer detail.
How can you ensure text legibility on small jewelry pieces?
Use a minimum font size of 8-10 points for jewelry engraving, depending on the metal and method. Choose sans-serif fonts with open letterforms, maintain consistent spacing between letters, and avoid all-caps text if possible, mixed case improves readability. Test your design at full scale before committing. Leave adequate margins around text to prevent crowding. If engraving initials or dates, keep the design simple and centered to ensure every character remains clear and professional-looking over time.
This article was written using GrandRanker


